
SETTING UP A WEBINAR IN TELSPAN
STEP 1
Log into your organization’s TelSpan instance: https://web.telspan.com/users/login
STEP 2
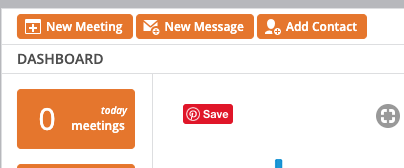
Click on New Meeting to set up and schedule your live webinar broadcast.
STEP 3
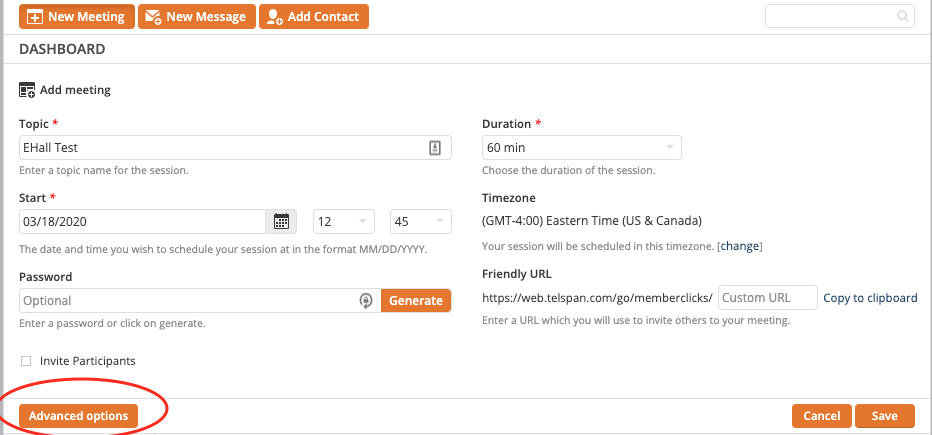
Enter the details for your live webinar. In order to run your live webinar through Classroom, all you need to build a live webinar through TelSpan is:
- Topic (i.e., session name)
- Duration
- Start Date (note: specific time is optional)
Once you have the above things filled in, Click Advanced options.
STEP 4
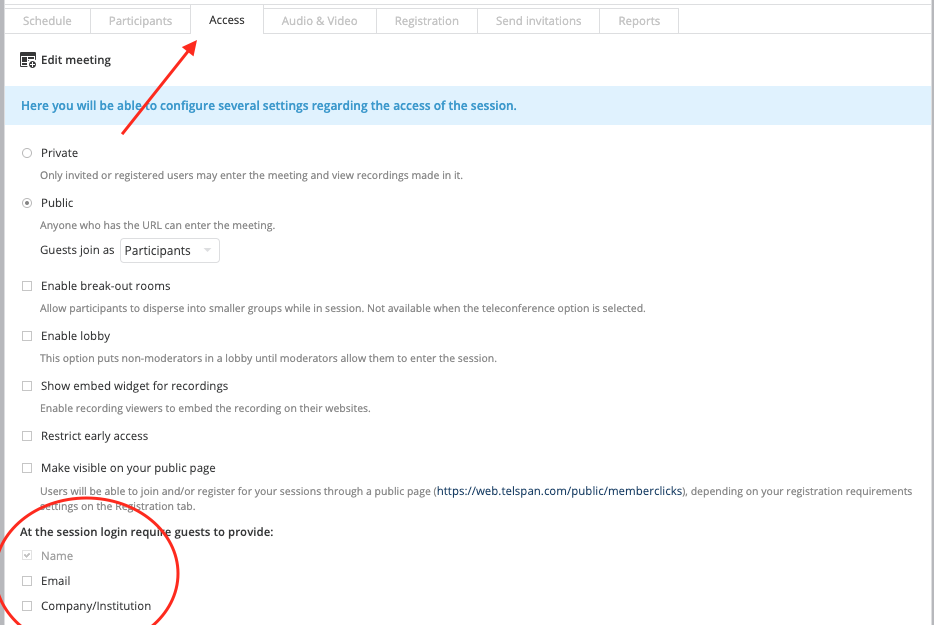
Click on the Access tab to set session login requirements. If attendees are logging in through Classroom, you will want to uncheck “Email” and “Company/Institution,” as those would feel redundant to the user and create an additional login barrier. All that is required is the user’s name, which can be whatever they choose (first name, full name, nick name, association name, etc.).
STEP 5
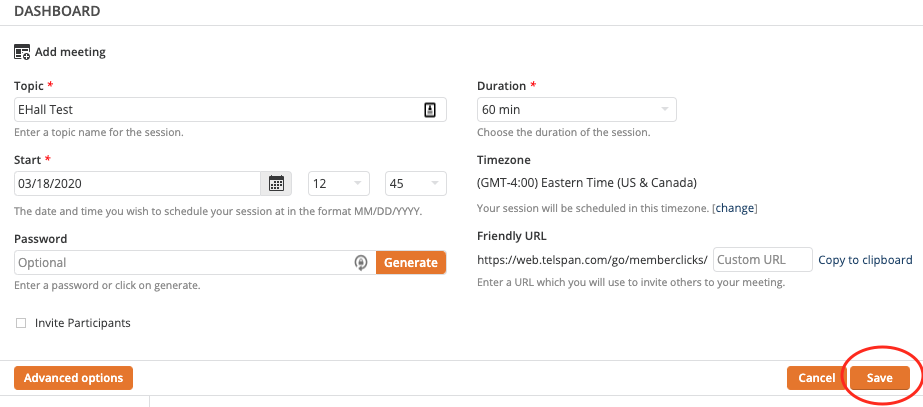
Click Save to schedule your webinar.
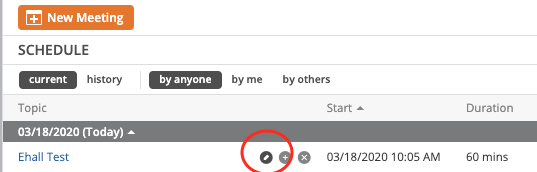
Should you need to edit any settings after scheduling your webinar, simply hover over the webinar and click on the pen icon.
EMBEDDING A WEBINAR IN MC | CLASSROOM
STEP 1
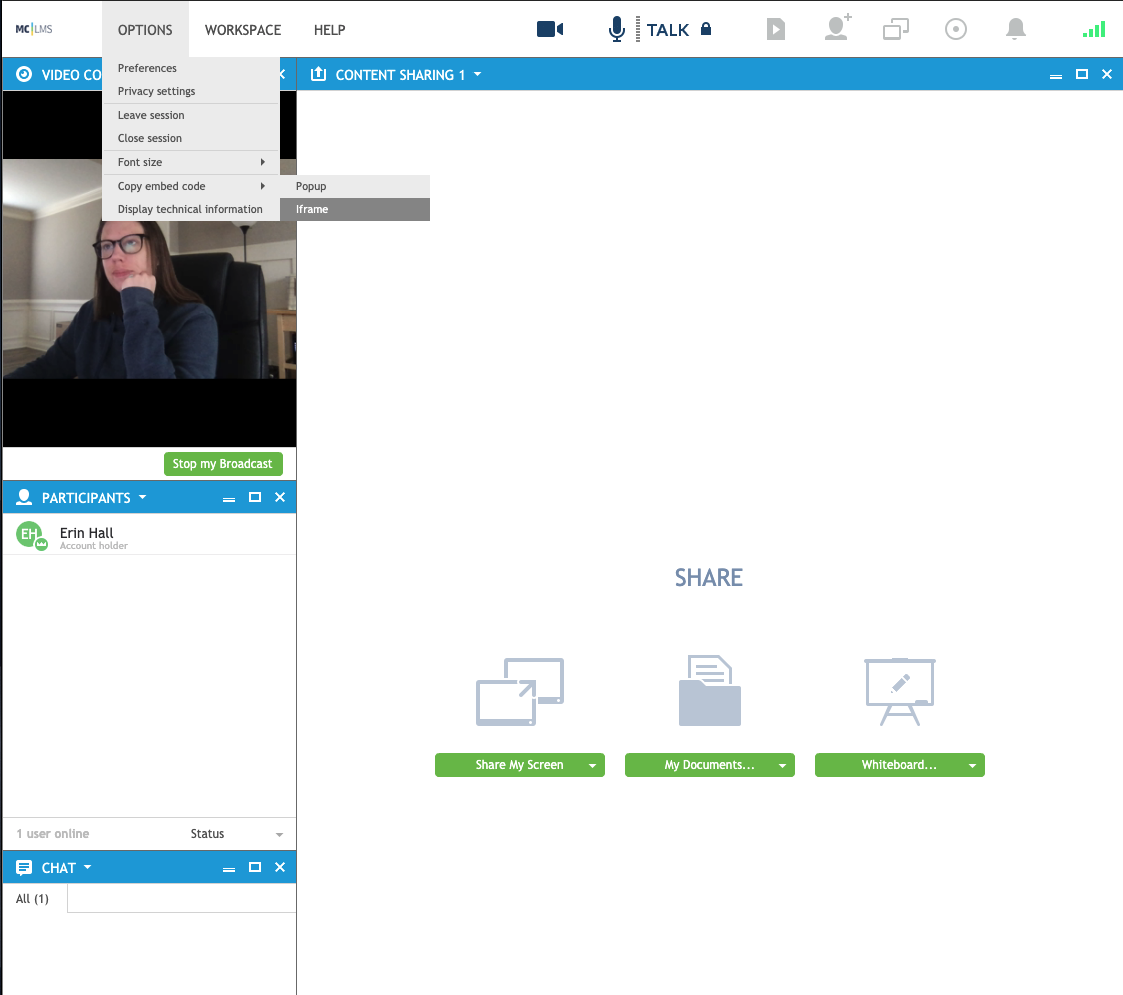
In TelSpan, click on the webinar name; this will launch the admin view of your webinar. To get the code you will need to copy and paste into a package within Classroom:
- Go to Options
- Scroll down to “Copy Embed Code”
- Select Iframe
- Copy the code that is presented to you
- Head into your Classroom package designed for this webinar
STEP 2
In your Classroom, go to your Learning Center, followed by the package designed to host your live webinar. In the Text content area, click Insert, and then Media. There, you can drop the Embed code that you copied from TelSpan.
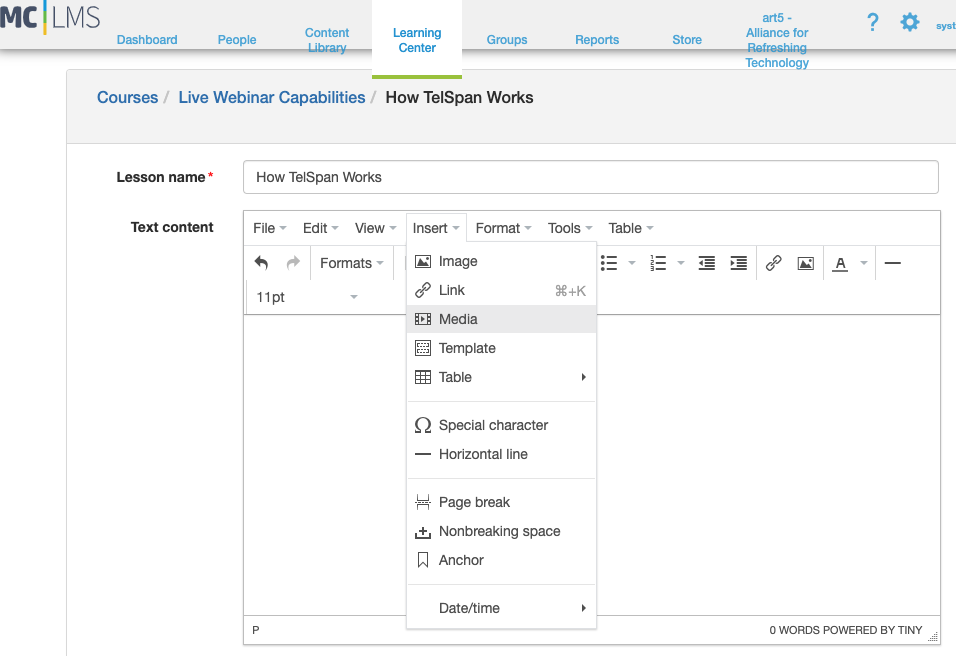
If you wish to adjust the size of the TelSpan window, click on the General tab and enter new Dimensions (we recommend keeping “Constrain proportions” checked).
STEP 3
Click Save so that your package is updated with the TelSpan webinar ready to go!
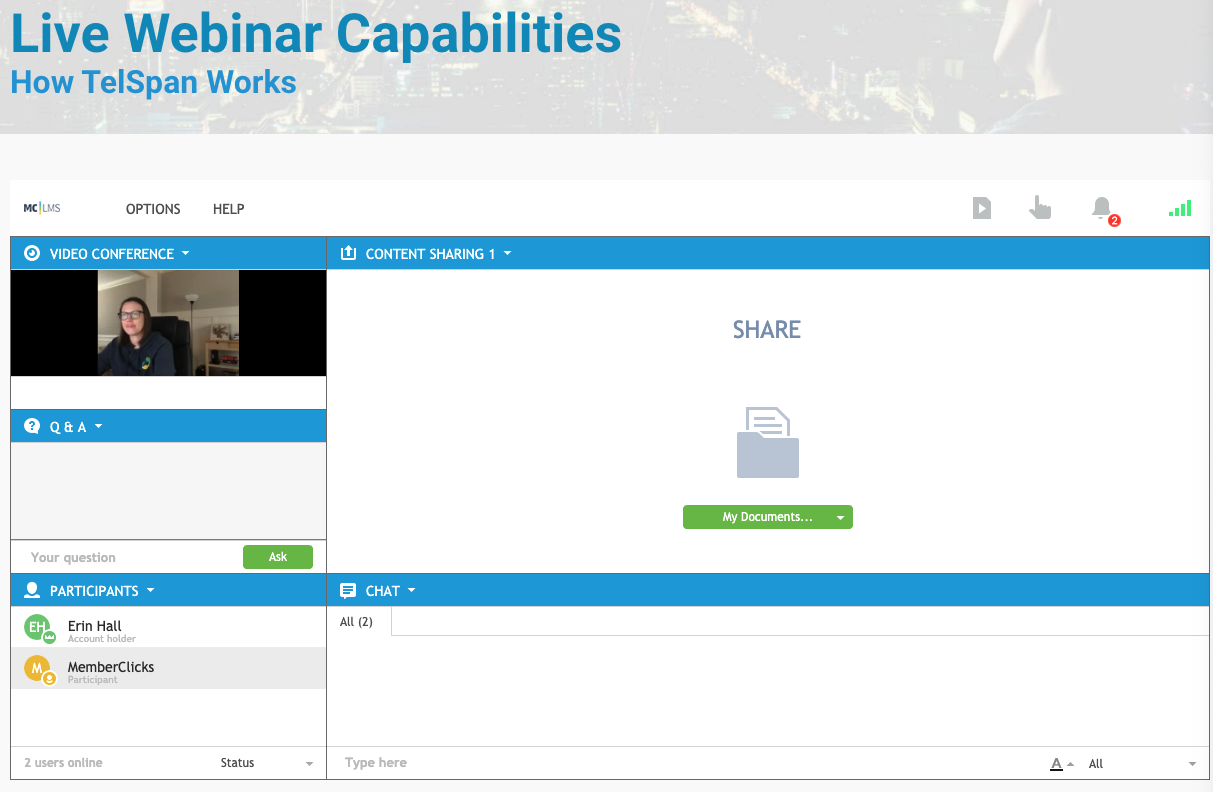
ATTENDEE/LEARNER EXPERIENCE
STEP 1
When attendees visit your Classroom, you will have your sessions, presentations, keynotes, etc. set up for them to choose from (if you need help with this part, simply reach out to our Customer Success team). Once inside a package/session, your user will be asked to enter a name, which can be a first name, full name, nickname, association name, etc. They simply need to enter a name that they’d like to be visible to others under the participant listing.
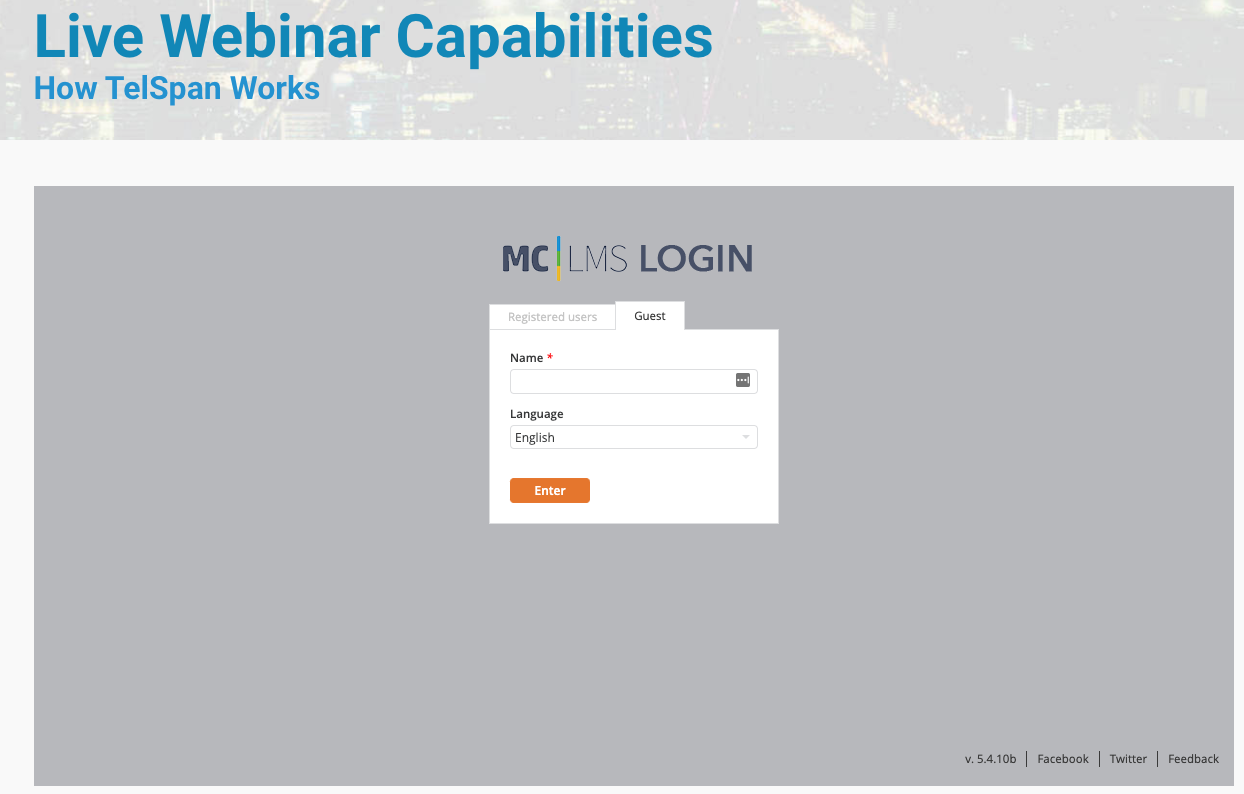
(Note: some people be prompted by their browser that they have to activate their Flash player and then re-enter their Name)
STEP 2
Once your attendee/learner enters their name, they will gain access to the webinar through your Classroom package.
VIEW VIDEO HOW-TO HERE: