
Note that this article applies only to MC Trade clients who have purchased a Premium Website. Click here to learn more.
Adding pictures to your website works in much the same way as the process to add text or copy. You simply drag an image element to the area of your page you want the image to appear.

Click the Upload Image box to add a picture.

This opens up a dialog box presenting several ways to add a photo. The two primary options are to either upload (or drag) an image from your own computer or to search through photo database of stock photos. Additionally, you can view your favorites or link to a current image on the web by using the image/graphic URL. Please note linking to images on web via the Image URL option might require you to provide credit to the image.
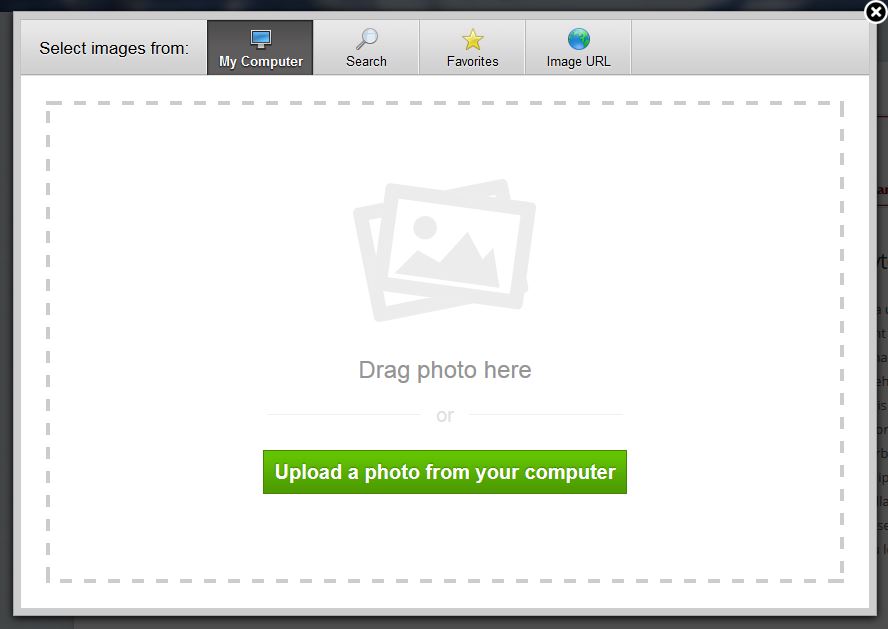
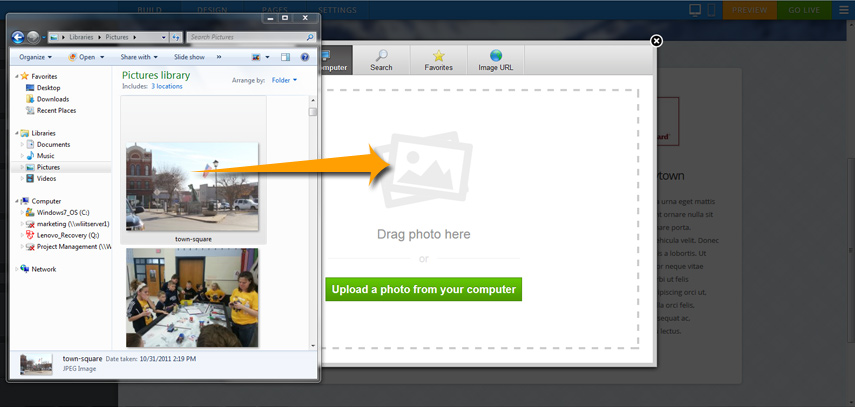
Let's focus on the option to upload a photo from your own computer. The easiest way to approach this is to drag the picture you want to use from your desktop into the box that quite helpfully says "drag photo here." You can also click the green "Upload a photo" button if it isn't convenient to drag the image over.
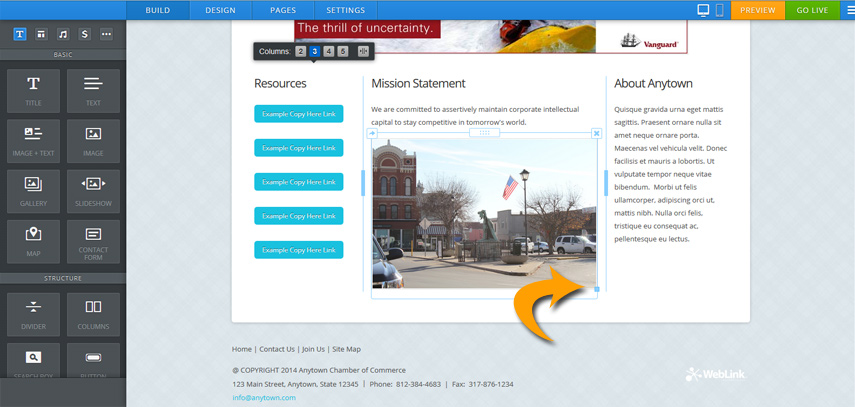
The size of a picture will vary after upload, but it'll usually show as wide as the entire site. You can adjust the size of the image by clicking and dragging the little box that appears in the lower right corner of the image.
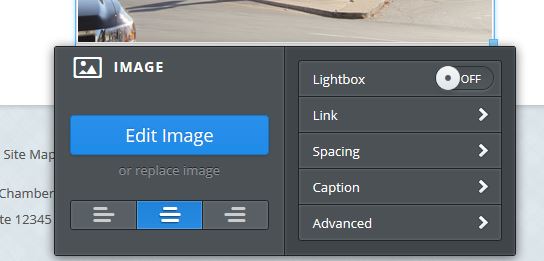
Clicking on the photo also opens up a settings dialog box that you can use to make further changes.
Some notable controls:
- Lightbox: If you turn this on then any visitor who clicks the image on your site will be shown a larger version.
- Link: This option turns the image into a link. We cover links later in this guide.
- Spacing: Makes minor adjustments to the amount of white space around the picture.
- Caption: Lets you add a basic text caption under the pic.
- Advanced: Allows you to adjust (or turn off / on) the border around the picture.
Some of the adjustments available from the "Edit Image" feature are:
- Crop: This is a secondary option alter the size of the image.
- Rotate: This option allows you to turn the image.
- Opacity: Makes adjustments to the image in terms of visibility. You can 'screen' or 'watermark' an image.
- Fade: Lets you alter the opacity of part of the image.
- Effects: Allows you to apply simple filters (normal, black & white or antique) or apply an edge (normal, polaroid or burnt) to the image.
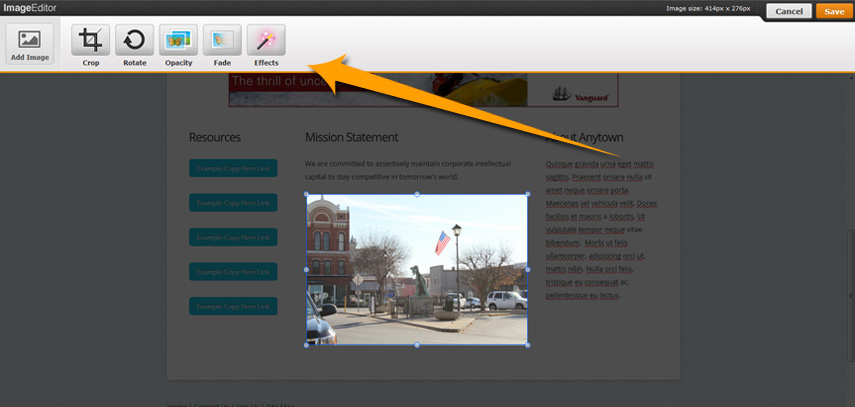
Once you're done editing your image, click the Save button in the upper right.